1- First: Prepare the desired hand embroidered leather bag pattern according to the following items.
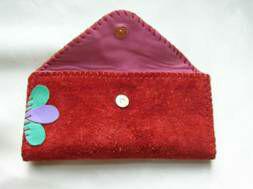
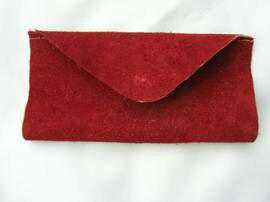
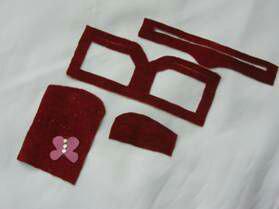
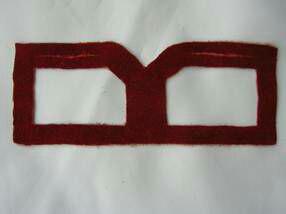
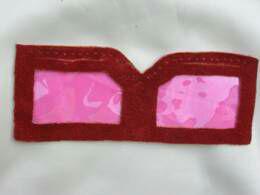
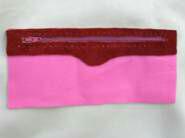
The main frame of the wallet: a square with a side of 20 cm, and if you want to be more secure, add the added edge as a door according to the picture to a square side.hand embroidered leather bag

Prepare a 4 * 8.5 cm rectangle with 4 and also an 8.5 * 12 cm rectangle.
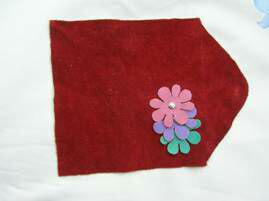
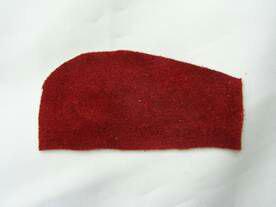
You can make one of the 8.5 cm sides in all the rectangles in any shape (crescent, ascending, etc.) you want.
Optionally, you can draw a design on a rectangle larger than the shape crust that you used on the main frame.handembroidered leather bag
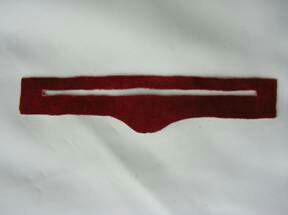
1-3- One 7*20 rectangle and two 20*3 rectangles, one of which can be selected from thinner leather.
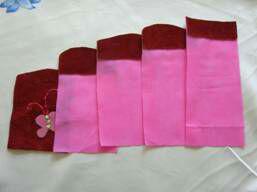
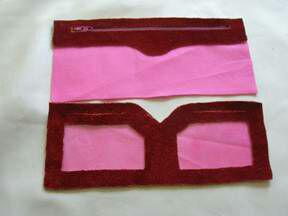
2-1- Right inside the hand-embroidered leather wallet: Rectangles in the form of a pattern (-1-2) with needle liners so that they are all in a row.hand embroidered leather bag
They form a 20 * 8.5 rectangle. We line it. All you have to do is glue the back of each pattern and stick it to the desired liner.hand embroidered leather bag
Finally, we glue all of them according to the shape, just enough margins and connect them together.
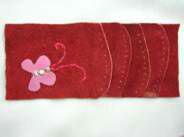
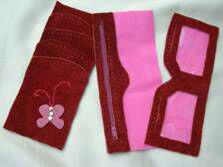
2-2-Left inside the bag: You can select the 7*20 rectangle as a photo location and cut the desired shape for it with a cutter.

For the input of the photo, it is enough to make a cut the size of the input of the photo and we will stick the divorce to the size of the cut place on the back of the work. Finally, we glue a needle liner completely behind this rectangle so that only the edges are glued.
2-3- Continuation to the left: In one of the 3*20 rectangles, we make another rectangle with a cutter so that we enter 1.5 cm from both sides and 1.5 cm from the top.hand embroidered leather bag
First, we stick a 20*7 needle liner to the bottom of the part where we have entered 1.5 cm.hand embroidered leather bag
Glue the edge of the 20cm zipper and carefully place it on the rectangle we made from the back of the work.
Attach a 20*8.5 liner to the top of the 20*3 rectangle.
3-1- The left and right sides of the interior are only enough. One side is half a centimeter deep and we make holes at a distance of 0.7 or 0.5 cm.
But on the left side, for the zipper, the hole under the zipper is drilled in the same way. In fact, we need to drill two rows in this rectangle.
Note: Increase the drilling time under the zipper by 8.5*20 so that there are no holes on it.
3-2- Attach to the main frame of the wallet on the right, which is the place of the cards.
The first left side has the part related to the zipper and the second part has the part related to the photo on it.
There should be a distance of 3 cm between this left and right, with which we cover a 20 x 3 rectangle, which will be more visually attractive. (But you can skip this rectangle)hand-embroidered leather bag
All around the main frame, we should mark the holes with a leather pen at intervals of 0.7 and do the drilling.